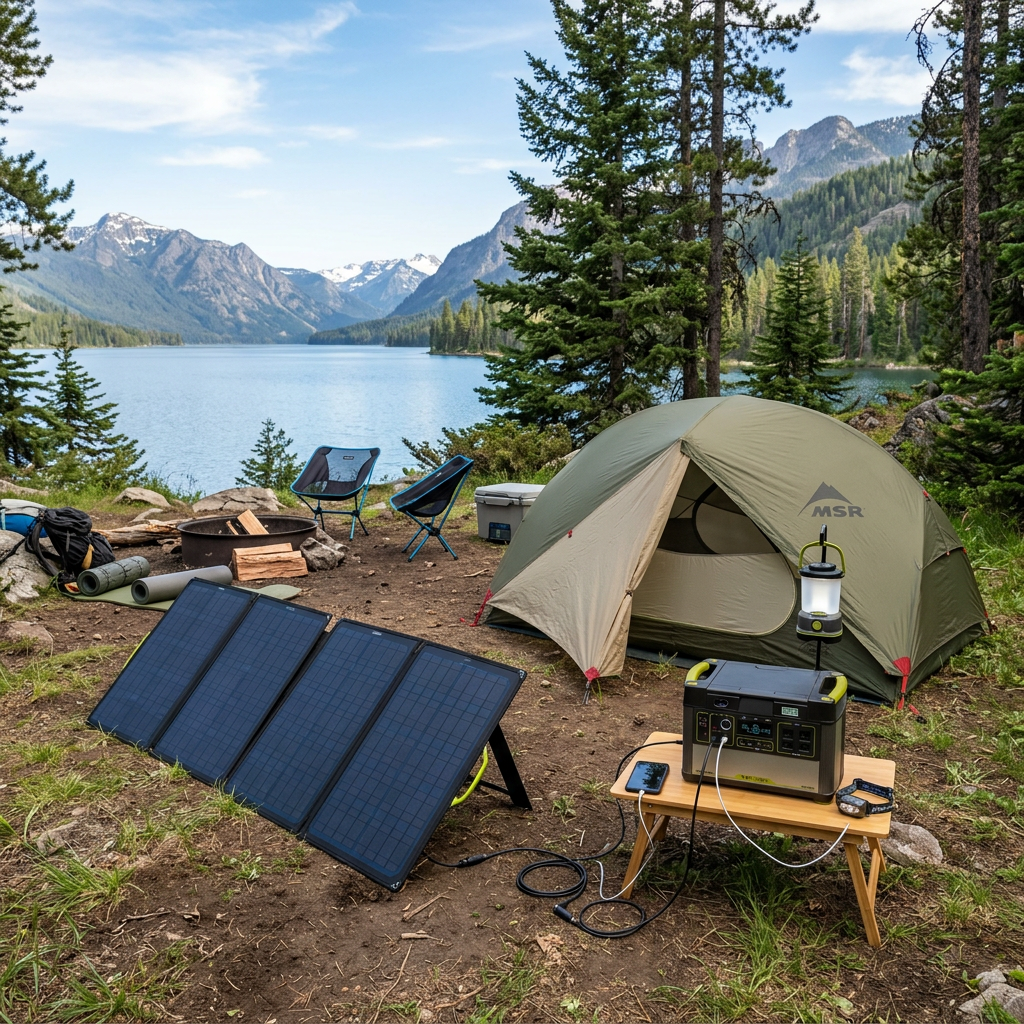
Portable Solar Made Simple: Clean Power, Anywhere
Capture the sun. Power your camp. Enjoy the freedom.
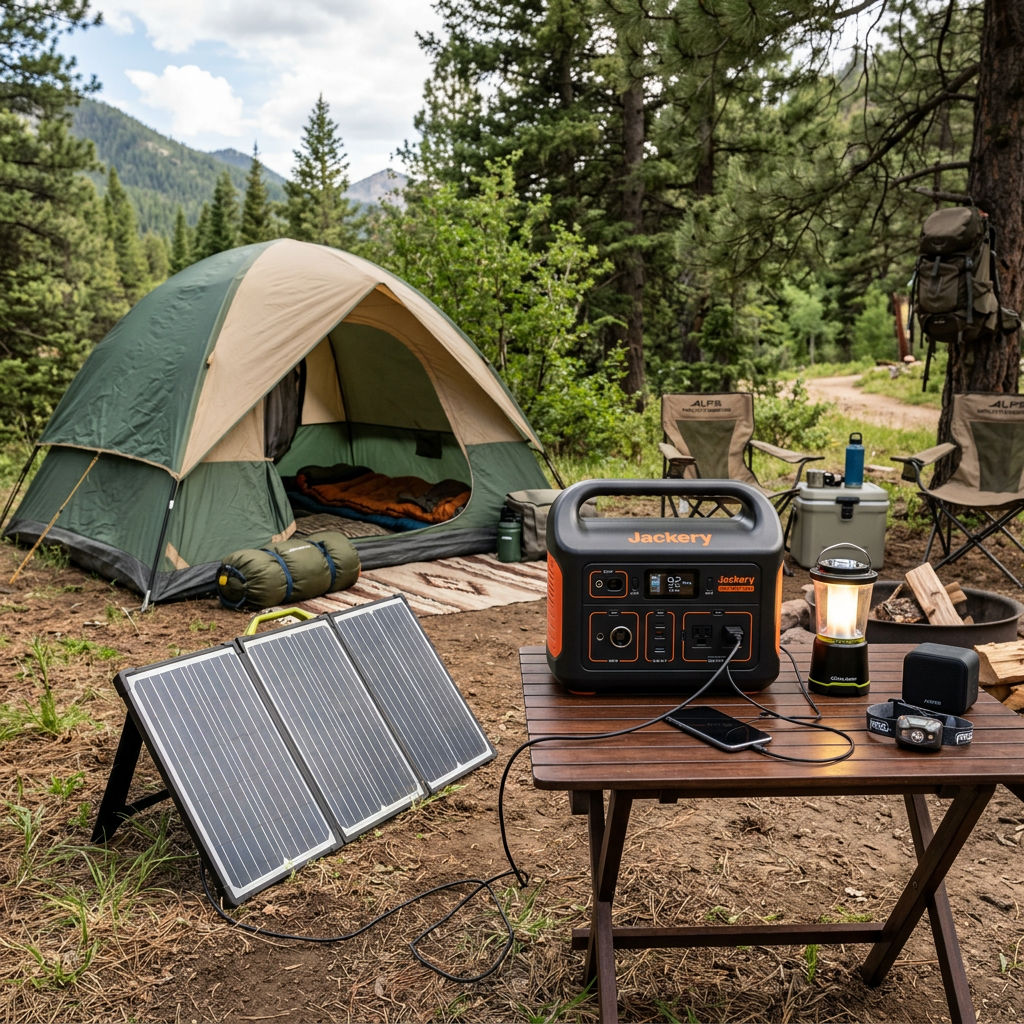
Solar power sounds complicated until you actually break it down: sunlight hits a panel, the panel charges a power station, the power station runs your gear. That’s the whole system. Add an optional battery if you need more capacity, and you’ve got clean, quiet power wherever you park — no generator, no fumes, no noise.
Here’s how the three pieces fit together, and what we’d actually buy for each one.
Solar Panel — Captures Sunlight, Converts It to Power
The panel’s only job is catching sun and turning it into usable charge. Foldable panels (100–200W) are the sweet spot for camping — enough output to matter, light enough to actually carry.
What to look for: Wattage (100–200W is the ideal range for most setups), high-efficiency cells, weather resistance, portability Best for: Keeping your power station or battery charged off-grid
The Jackery SolarSaga 100W Air Solar Panel sets up in about 60 seconds with its built-in stand, no tools needed, and it’s IP68-rated so a surprise rain shower isn’t a problem. If you’re already running a Jackery power station (see below), it’s a matched-ecosystem pick — though it works with most major brands too.
Power Station — Stores Energy, Runs Your Devices
This is the hub of the whole system: it stores what the panel captures and actually powers your stuff. Sizing is the one decision that matters most here — too small and you’re rationing power, too big and you’re hauling dead weight.
What to look for: Capacity (Wh), output (W), battery type (LiFePO4 lasts longest), port selection Best for: Running devices, charging gear, and small appliances
We already broke this down in detail in our Power Systems Explained review — short version: the Anker SOLIX C1000 Gen 2 (~1,024Wh) is the right call for most people, the EcoFlow RIVER 2 Pro (~768Wh) if you’re weight-conscious, and the Jackery Explorer 2000 v2 if you’re running a fridge for days at a time.
Battery — Stores Energy for Later Use or Vehicle Systems
A separate battery isn’t required for every setup, but it matters once you’re expanding capacity — dual-battery systems, longer trips, or storing extra solar capture for a cloudy day ahead.
What to look for: Capacity (Ah), depth of discharge, cycle life, weight and size Best for: Expanding capacity, dual battery setups, longer trips
The Renogy 12V 100Ah LiFePO4 Battery is a genuinely solid choice — self-heating tech means it still charges properly in cold weather (where a lot of lithium batteries struggle), and it’s rated for 5,000+ deep cycles, so it’s not something you’ll be replacing after one season.
How Long Does Charging Actually Take?
This depends on your solar input and your power station’s capacity — here’s the real-world range in full sun:
| Solar Input | Power Station | Charging Time |
|---|---|---|
| 100W | 500Wh | 6–7 hrs |
| 100W | 1000Wh | 11–13 hrs |
| 200W | 1000Wh | 5–6 hrs |
| 200W | 1500Wh | 7–8 hrs |
Times vary based on sun angle, cloud cover, and conditions — treat these as a starting point, not a guarantee.
What Can You Actually Power?
Based on a 1000Wh power station:
- Phone (10Wh): 40+ charges
- LED light (10W): 40+ hours
- Camera (15Wh): 25+ charges
- Laptop (50W): 8–10 hours
- Mini fridge (60W): 10–15 hours
- Drone (40Wh): 10+ charges
Tips for Maximum Solar Power
- Position panels facing the sun and adjust the angle throughout the day
- Keep panels clean and free of shade — even partial shade tanks output
- Use high-quality cables and connectors to avoid charging loss
- Charge during peak sun hours (10am–3pm) for the fastest results
- Store power in a battery for night use and cloudy days
The Real Point
You don’t need to understand electrical engineering to run this system — sunlight hits the panel, the panel charges the power station, the power station runs your gear, and an optional battery extends how long that lasts. Size each piece to your actual trips, not the biggest numbers on the shelf, and you’ll have quiet, reliable power for as long as the sun keeps showing up.
Grab our free Beginner Overland Rig Checklist to make sure the rest of your setup is dialed in too — link in bio.
— Dirt Road Camp Explore farther. Camp smarter.


 Dirt Road Camp
Leave a comment